Clutch
Disassemble HiT clutch 181401, Assembly and Installation

Disassemble HiT clutch 181401
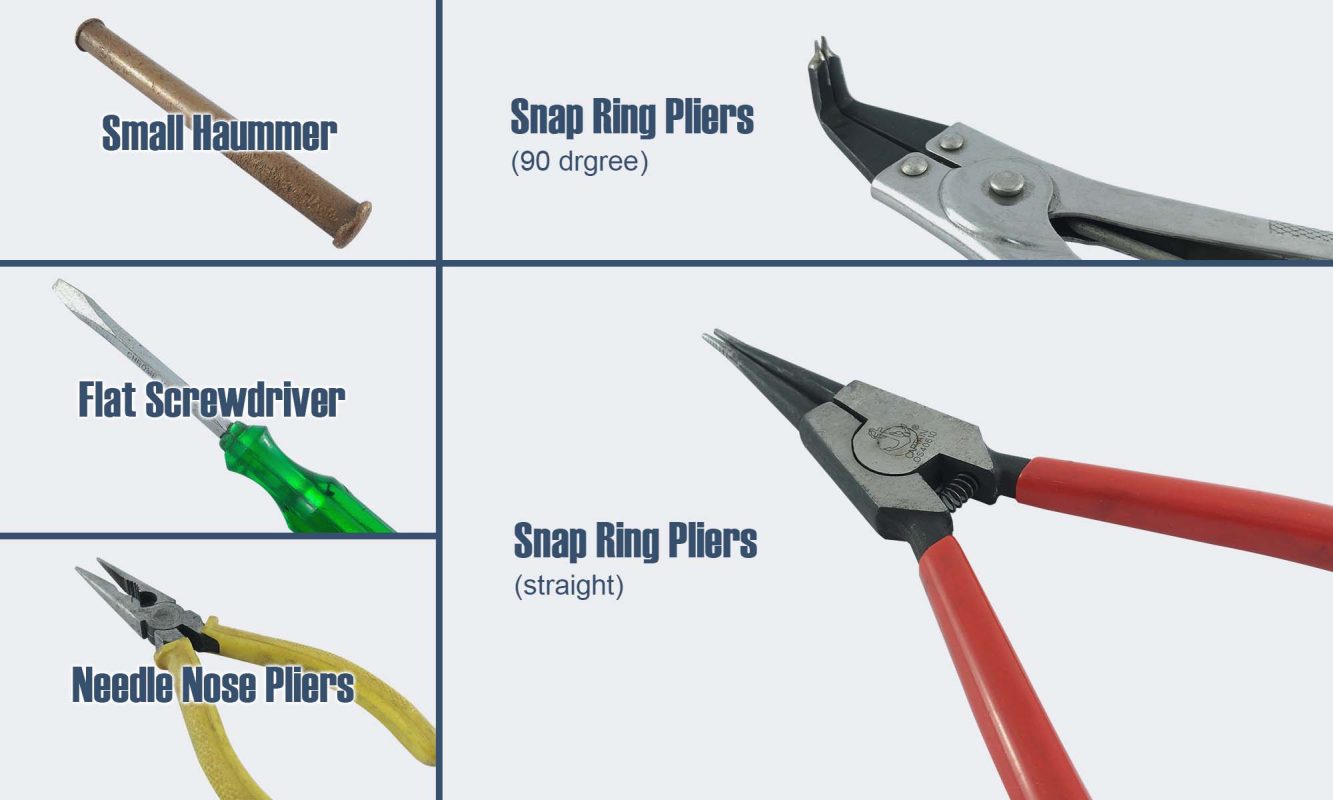
Prepare tool
- Snap Ring Pliers (90 degree)
- Flat Screwdriver
- Needle Nose Pliers
- Snap Ring Pliers (straight)
- Small Hammer

Disassembly Steps
- take off the Pillow Spring (PS) with snap ring plier
- remove the C type retaining ring with 90 degree snap ring plier
- remove the Cover with flat screwdriver
- take off the Clutch Spring (CS) with snap ring plier
- remove the Clutch Weight
Assembly Steps
- install the Rubber Damper
- install the Clutch Weight
- install the Clutch Spring (CS) with snap ring plier
- install the Cover with small hammer
- install the C type retaining ring with 90 degree snap ring plier
- install the Pillow Spring (PS) with snap ring plier
Installation Steps
- install the HiT clutch on the Driven Pulley
- mount the Nut Lock Washer
- mount the Nut to lock the HiT clutch
- bend the small wing to prevent the Nut becomes loosen
Youtube Video

More information
Our Youtube url : https://www.youtube.com/c/DrPulley
Product Specification: https://drpulley.co/product/high-thrust-clutch-181401/


