


Roller Weight, Variator
Replacing of Dr.Pulley Variator – Burgman400
Replacing of Dr.Pulley Variator – Burgman400
Replacing of Dr.Pulley Variator and Sliding Weight Roller – Assembly- Disassembly in Suzuki Burgman400 (Skyway400)

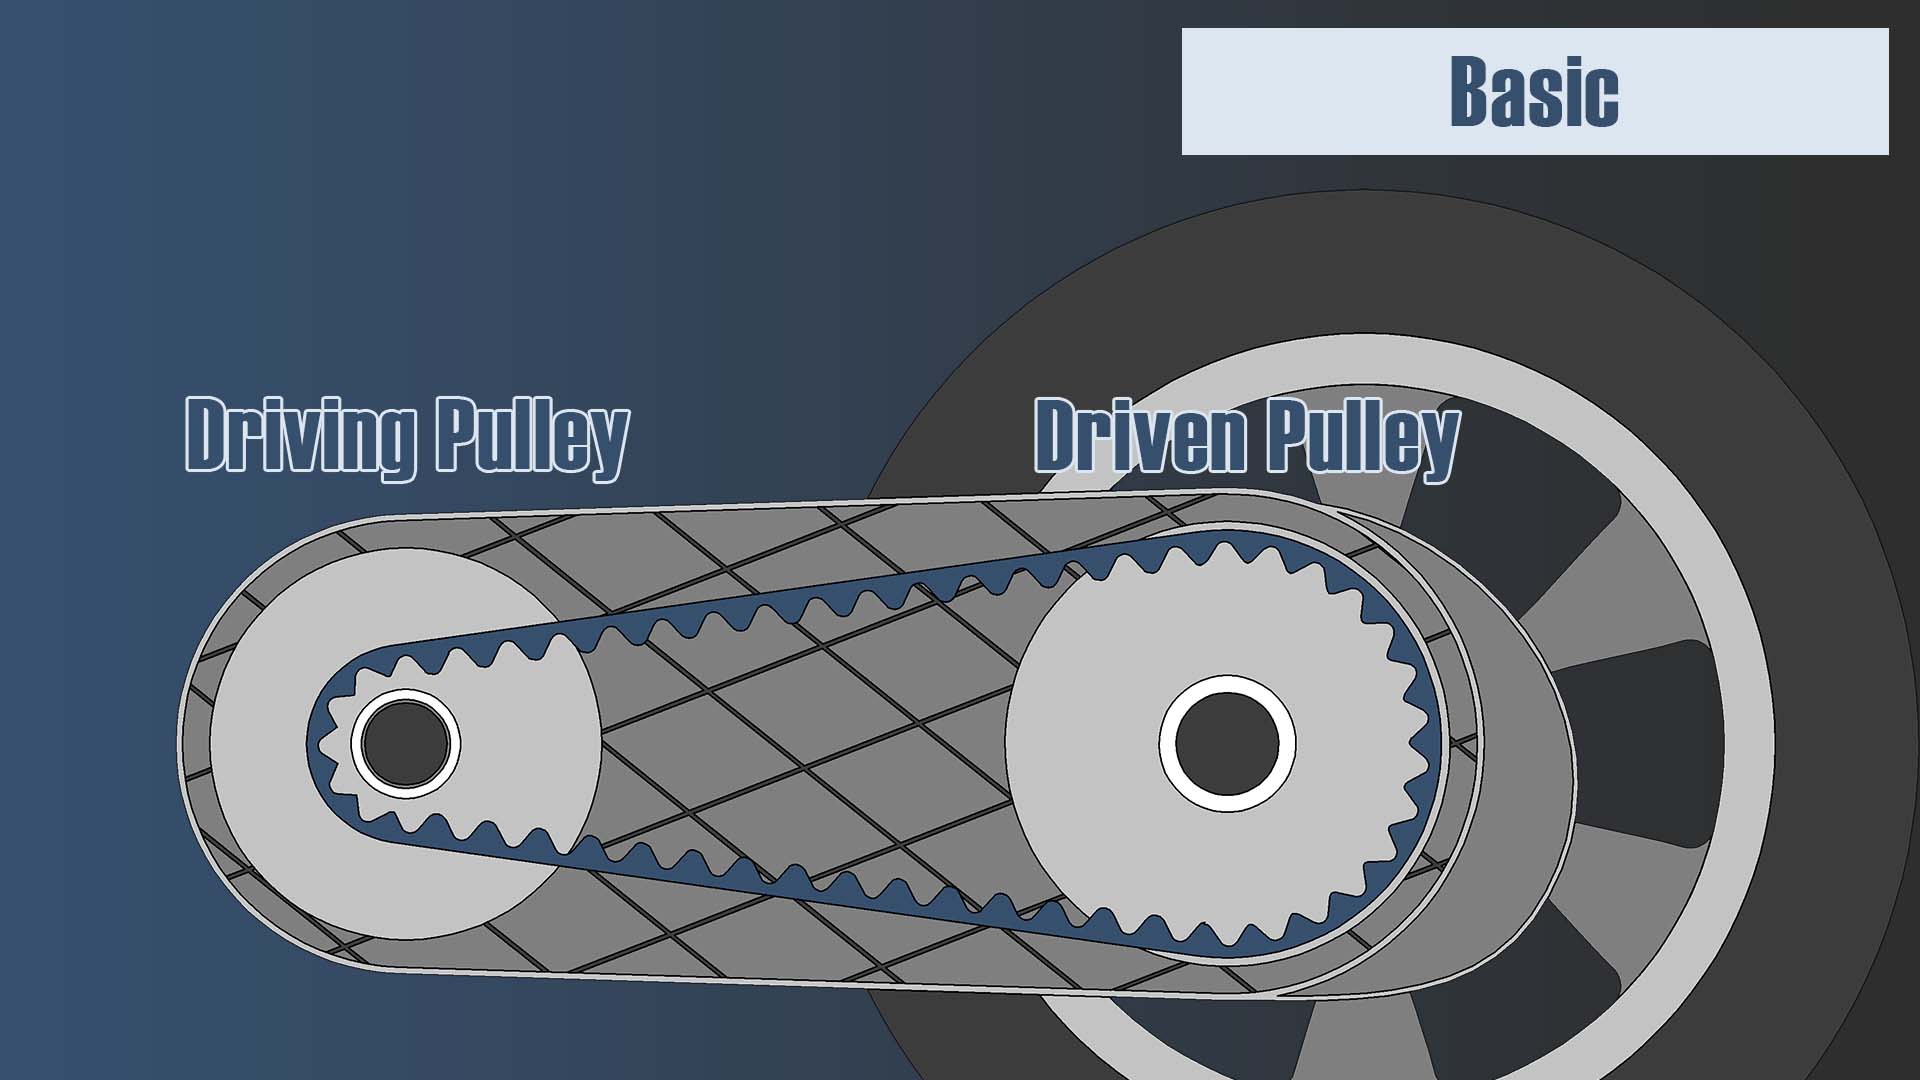
Basic
Disassembly
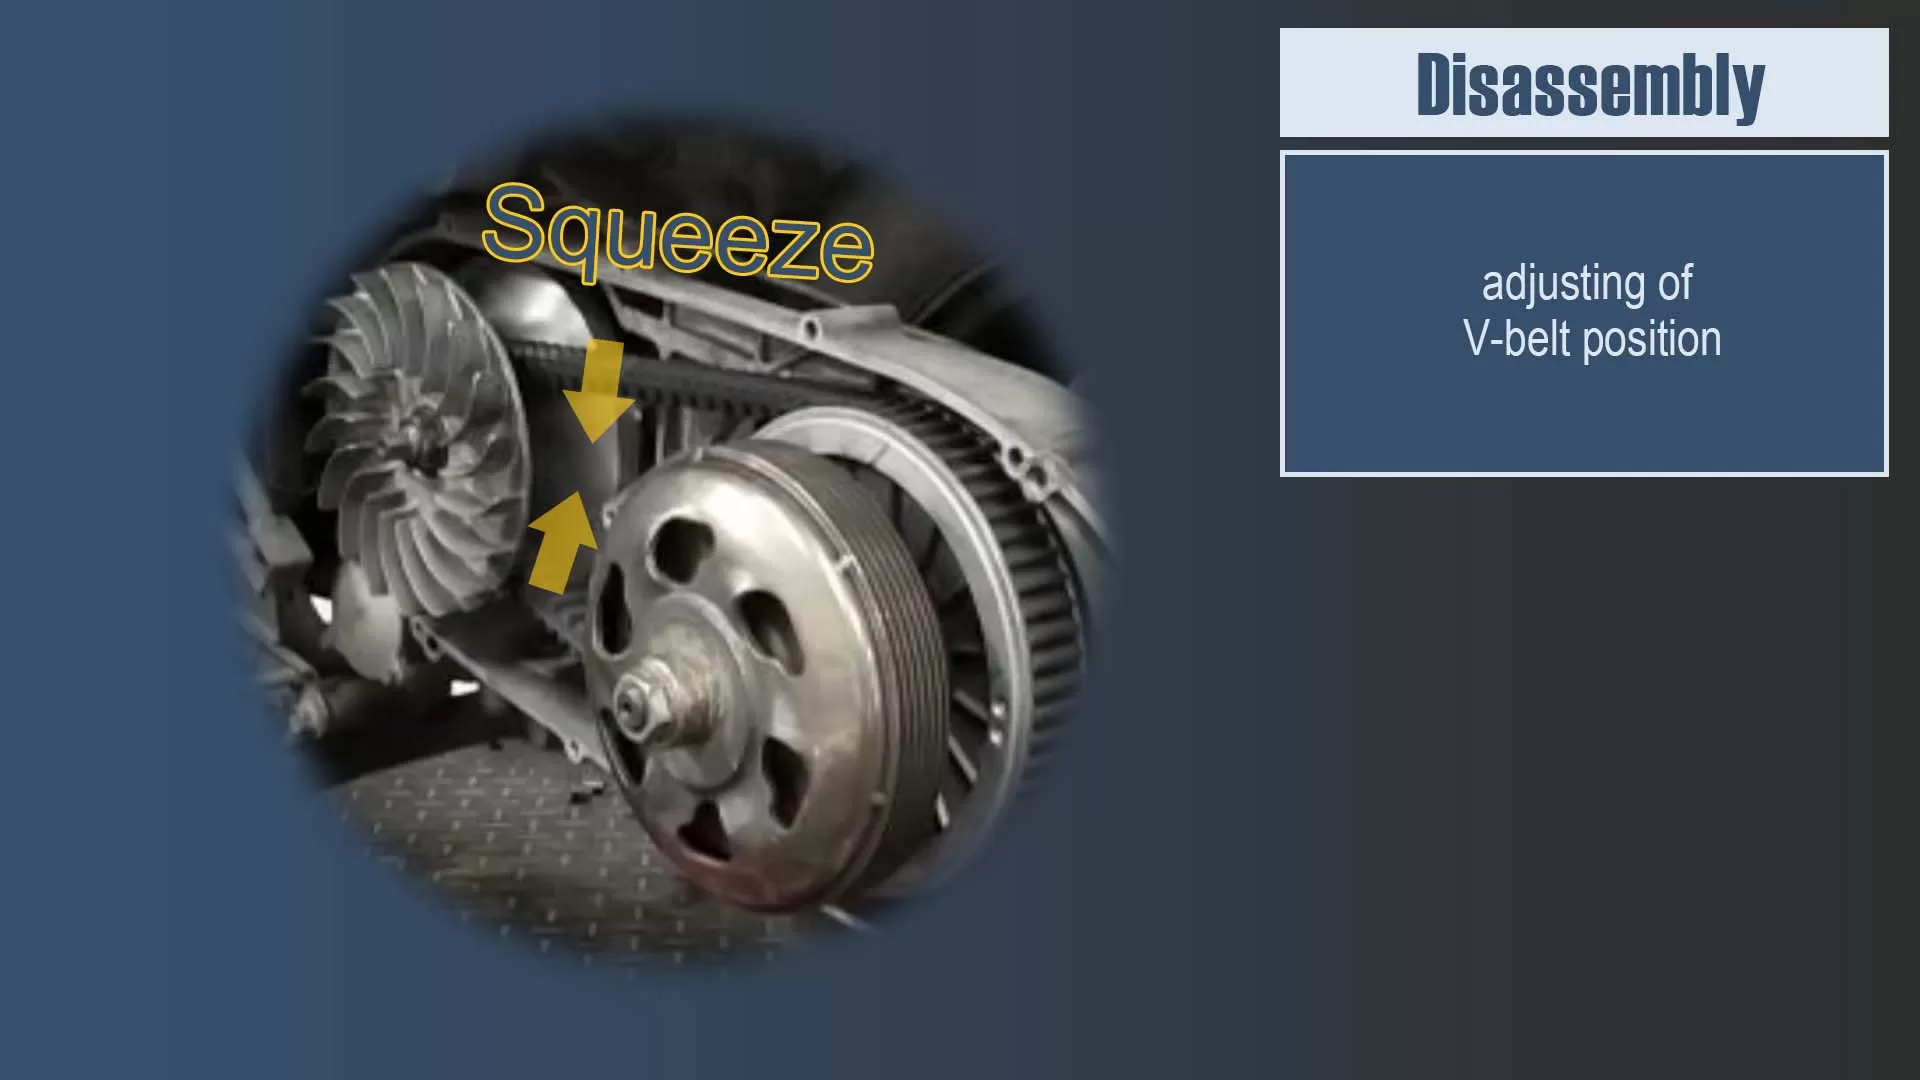
Adjusting of V-belt position
Two exposed portion (upper and lower) of V-belts between the driving pulley and the driven pulley are squeezed inward together with bare hands.
The purpose of this action is to make the V-belt in the front driving pulley become in a loose state, so there will be no resistance when dismantling.
Disassembly of Fan
Use the inner hex socket head and pneumatic wrench to remove the nut directly and then take off the Fan.
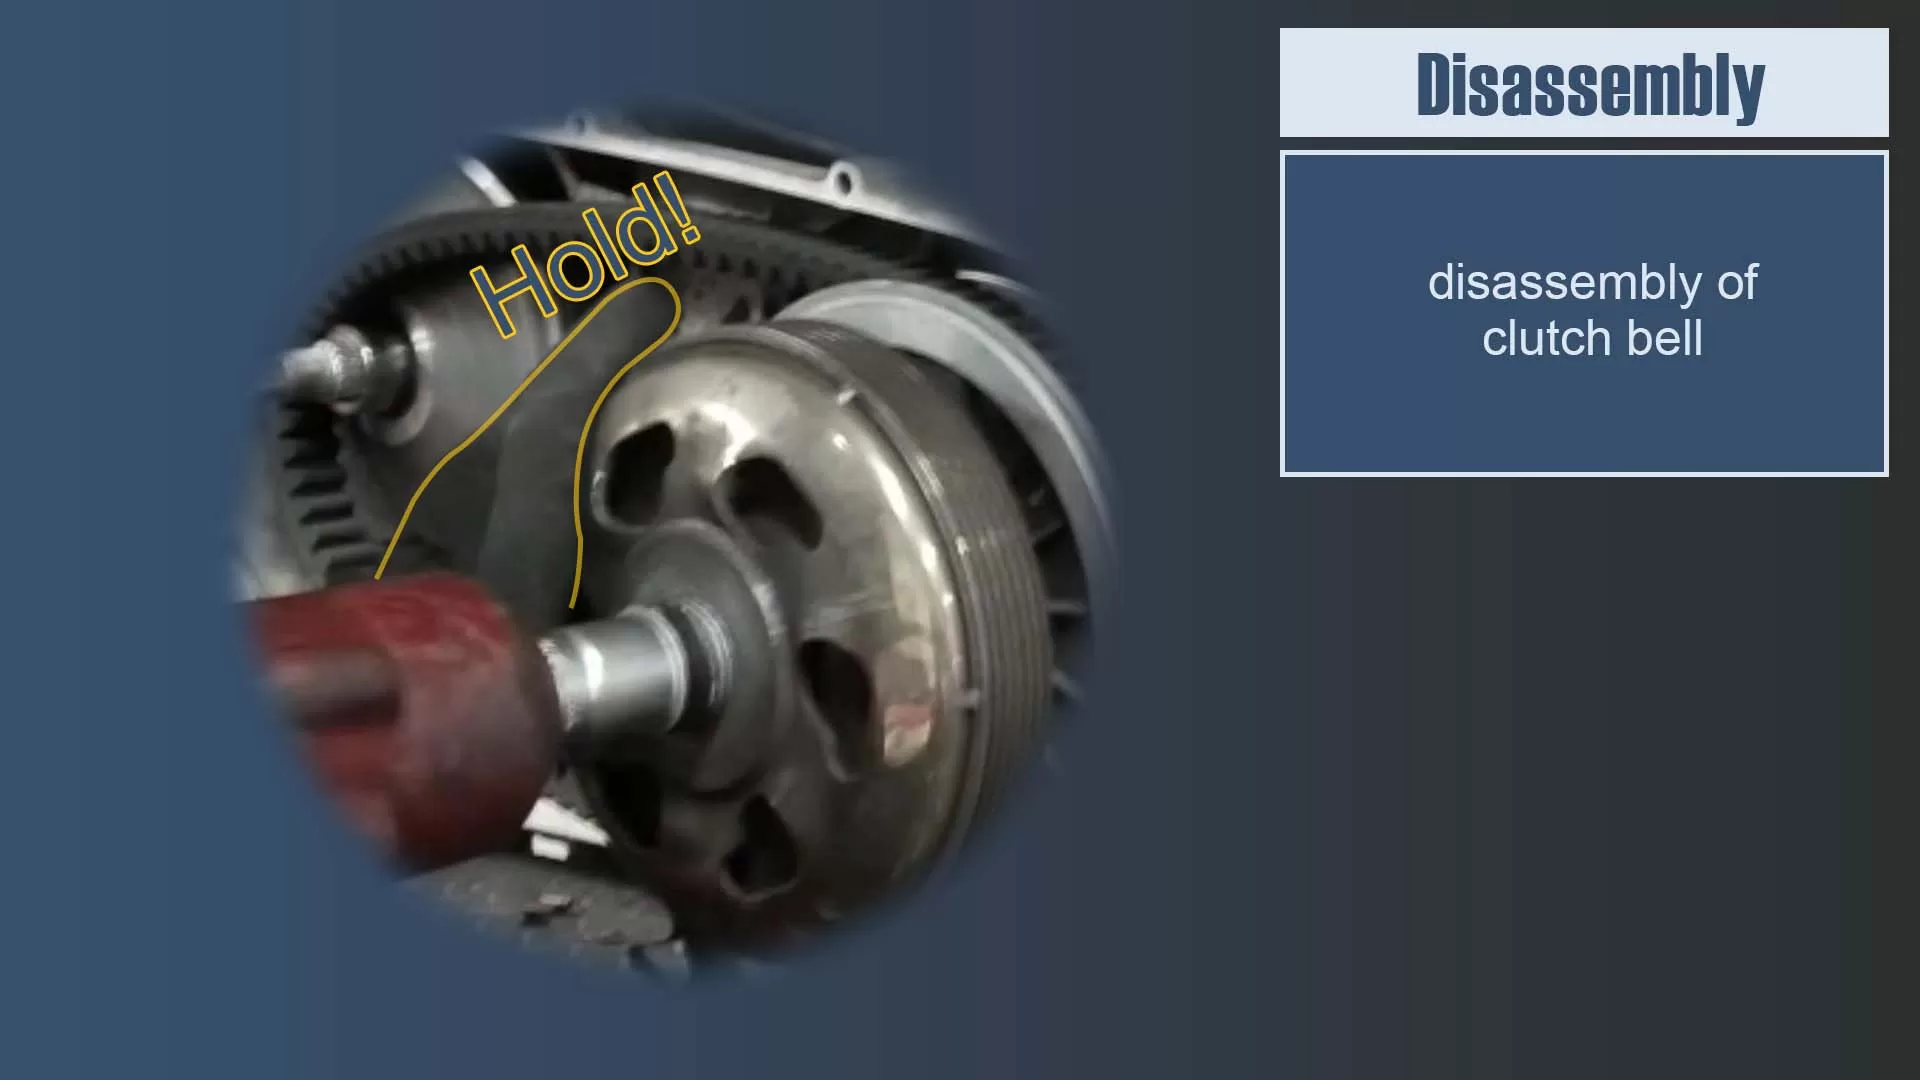
Disassembly of Clutch Bell
Use the inner hex socket head and pneumatic wrench to take off the clutch bell directly.
Hold the pneumatic wrench with one hand and gently hold the clutch bell with the other hand to avoid the clutch bell is rotating when the nut is under disassembling. Now you can take off the clutch bell first, later the V-belt and the entire set of “Driven Pulley” can be removed at the same time.
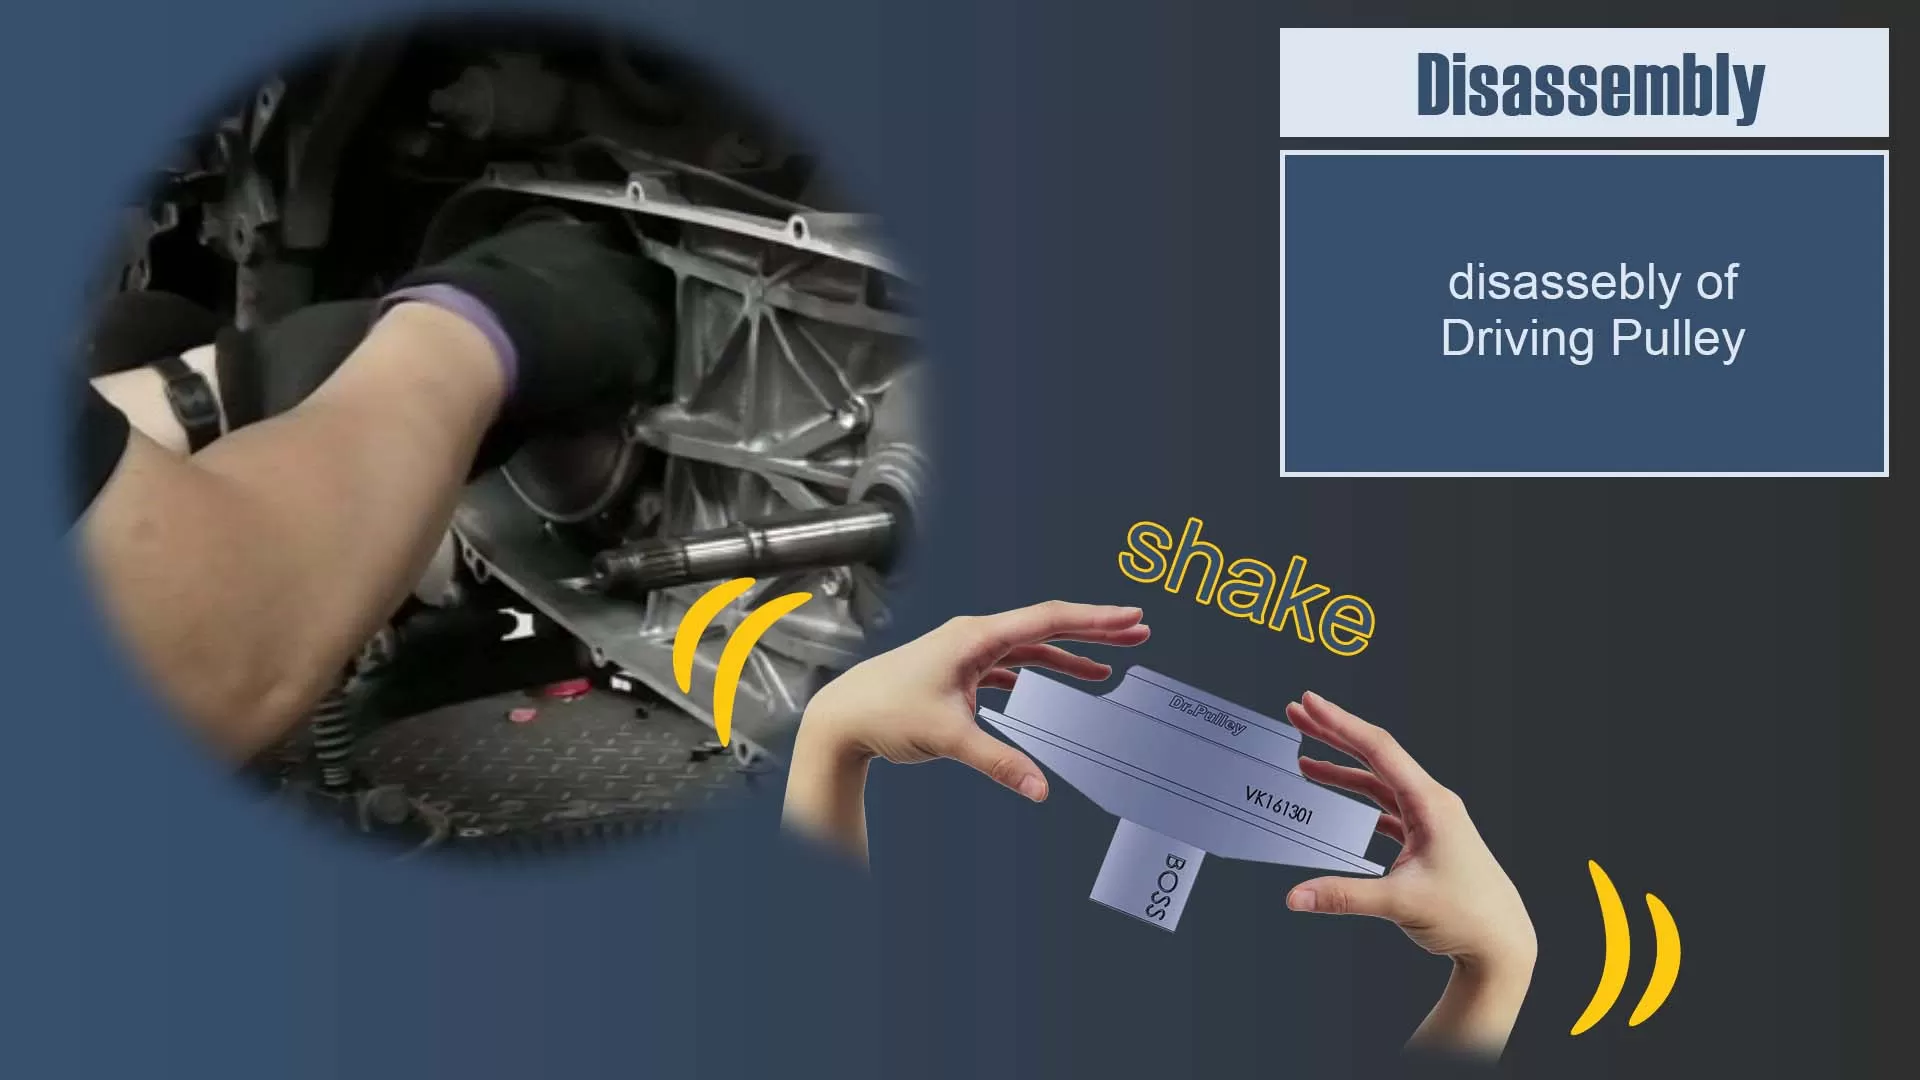
Disassembly of Driving Pulley
During the disassembling, both thumbs will press the Variator driving pulley from the outside and the other four fingers of each hand will hold the ramp plate from the inside, slowly push it outward from the back, if it is not so easy to move the driving pulley outward, you can do a slight shaking when the driving pulley is pushing outward.
The purpose of this kind of holding with shaking is to prevent the variator weight rollers are falling all over the floor.
Assembly 1
Installation of Weight Rollers
Put the Weight Rollers (here, SR sliding roller) into the Roller runway of driving pulley in right positions, totally 8 pcs of SR.
Assembling of Ramp Plate and Variator face comp
Putting the Ramp Plate onto the Variator face comp ( 8 pcs of SR installed already completely), all fingers of both hands should hold the variator set (Variator/SR/Ramp Plate) firmly enough to prevent the Ramp Plate becoming loosen and Roller positions is changed.
Assembling of Boss and Variator face comp
Insert the Boss into the bush hole of Variator set (Variator/SR/Ramp Plate), during this process, the contact of Ramp Plate and Variator face comp must be remained firmly till the Variator set is installed onto the Crankshaft.
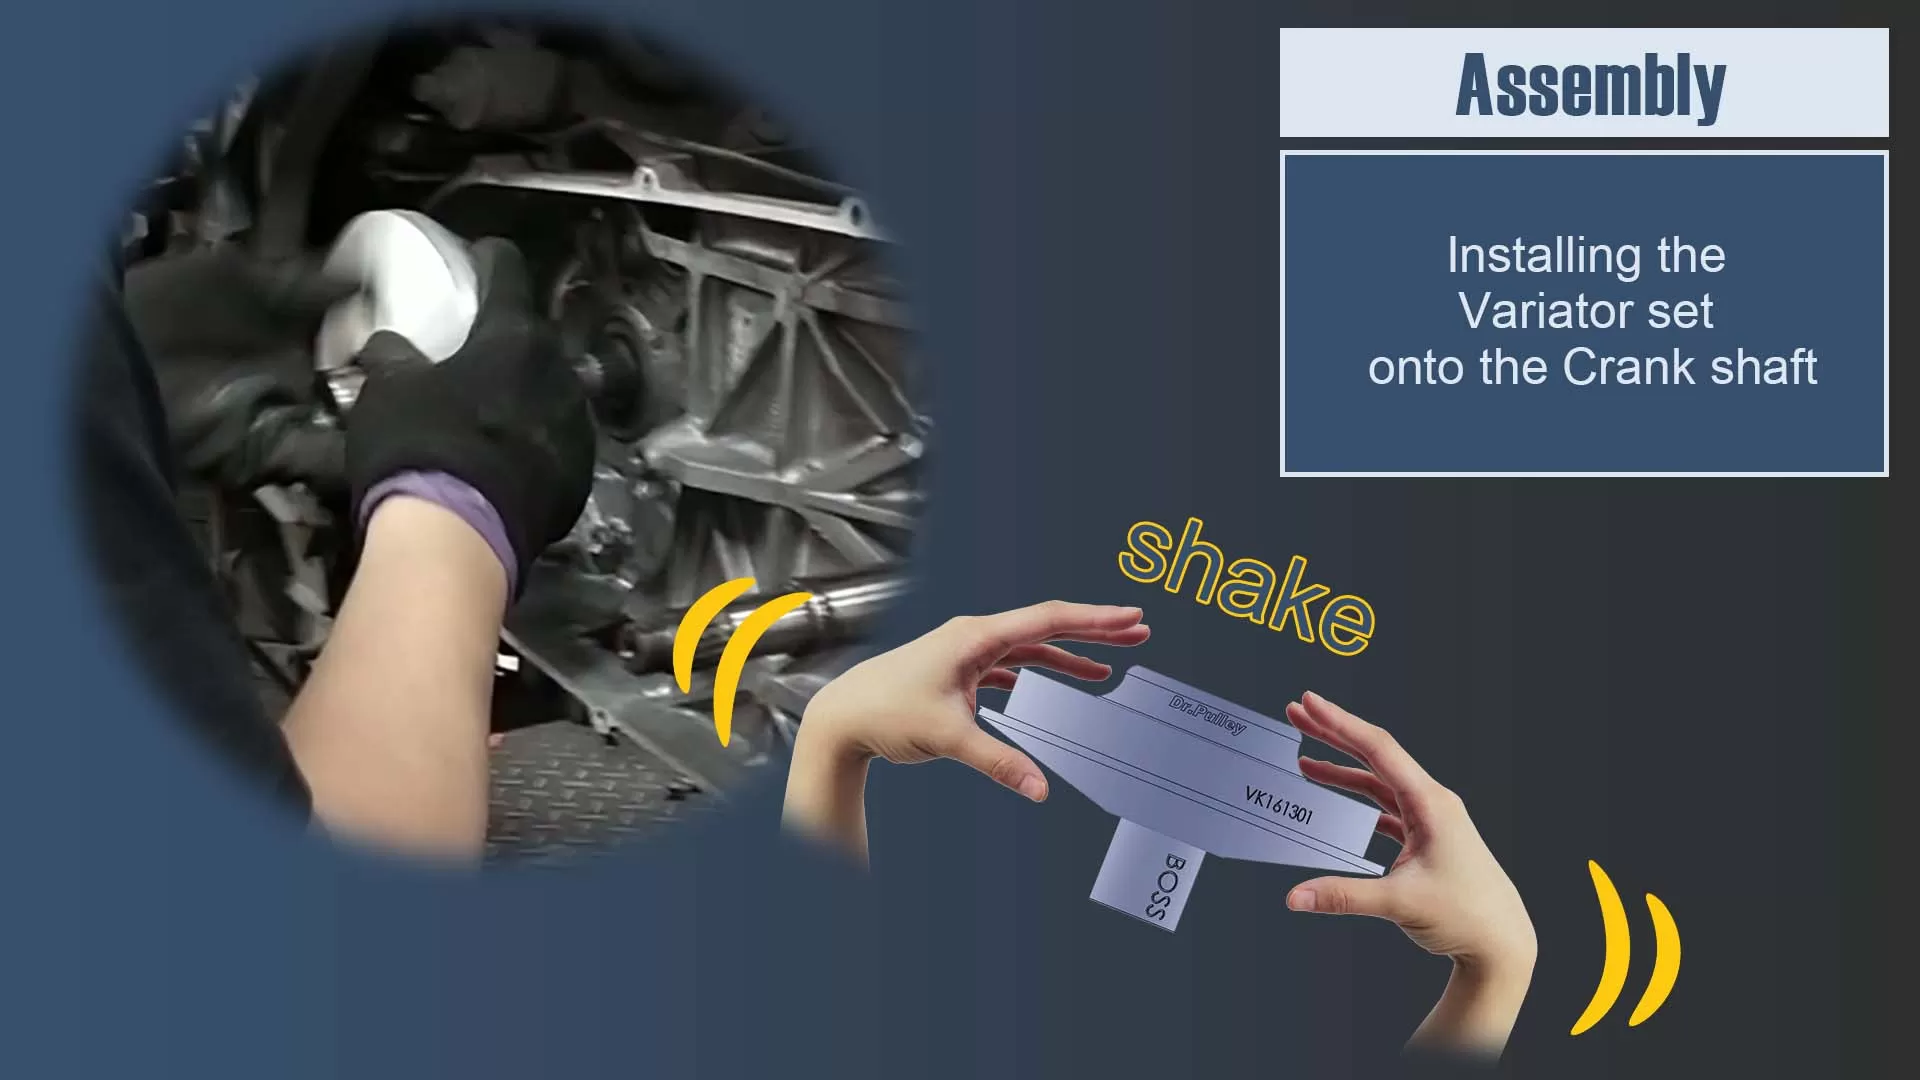
Installing the Variator set onto the Crank shaft
Installing the assembled driving Variator set onto the Crankshaft and push it to the end. This manipulation (method) is slightly shaking left and right with pushing forward at the same time.
Adjusting V-belt position
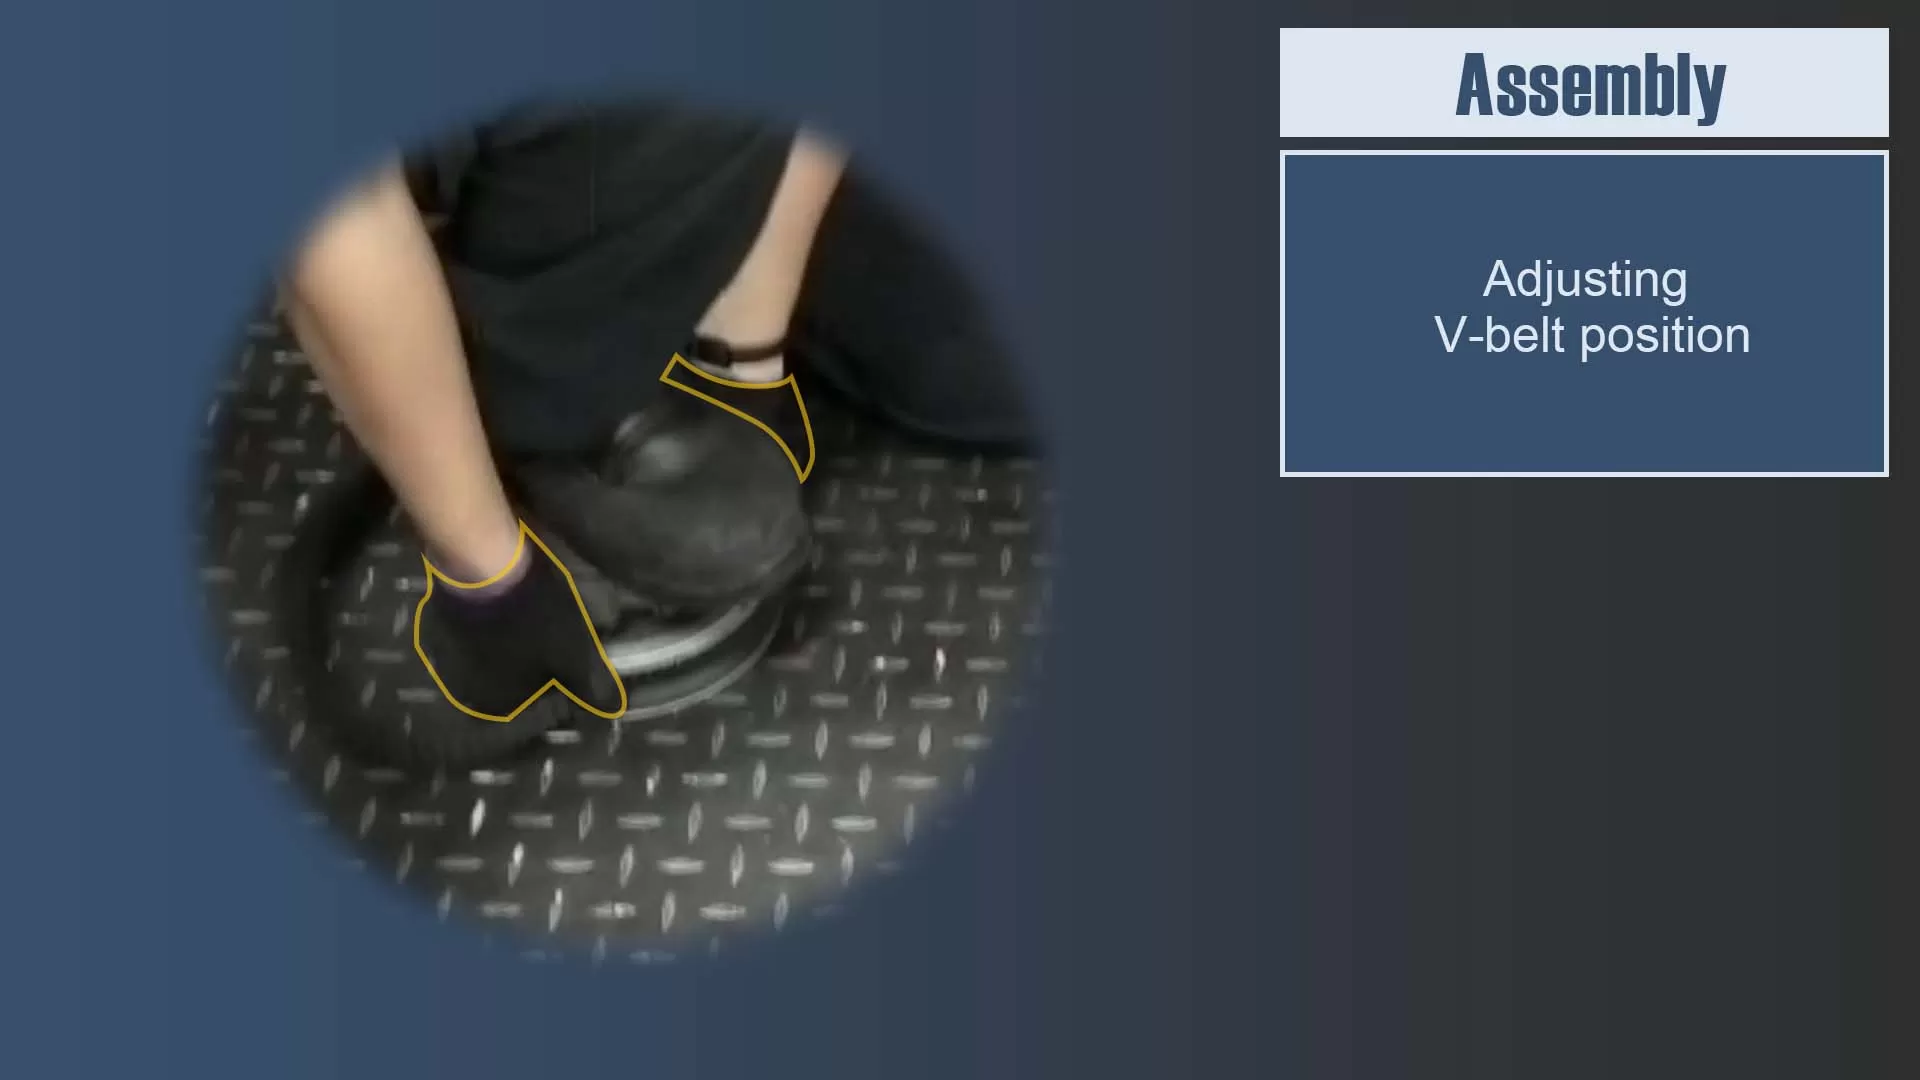
In the beginning, the position of the V-belt is at the outermost side of “rear driven pulley”, which is not convenient for later installation. Therefore, you must find a way to move the V-belt position to the inside a little bit.
The manipulation used by the mechanic is putting the driven pulley set on the ground, using one foot to compress the clutch surface to keep the driven pulley set remain stationary on the ground, using both hands to pull the moveable part of the driven pulley upper to make the space between moveable fan and fix fan become bigger, the V-belt is pulled back to inner side at the same time.
Installation of rear driven pulley set (V-belt included)
Put the driven pulley set having a V-belt included onto the rear transmission shaft and push it to the end.
The manipulation is during the process of installation, the said driven pulley set is slightly been shaking left and right with pushing forward at the same time.
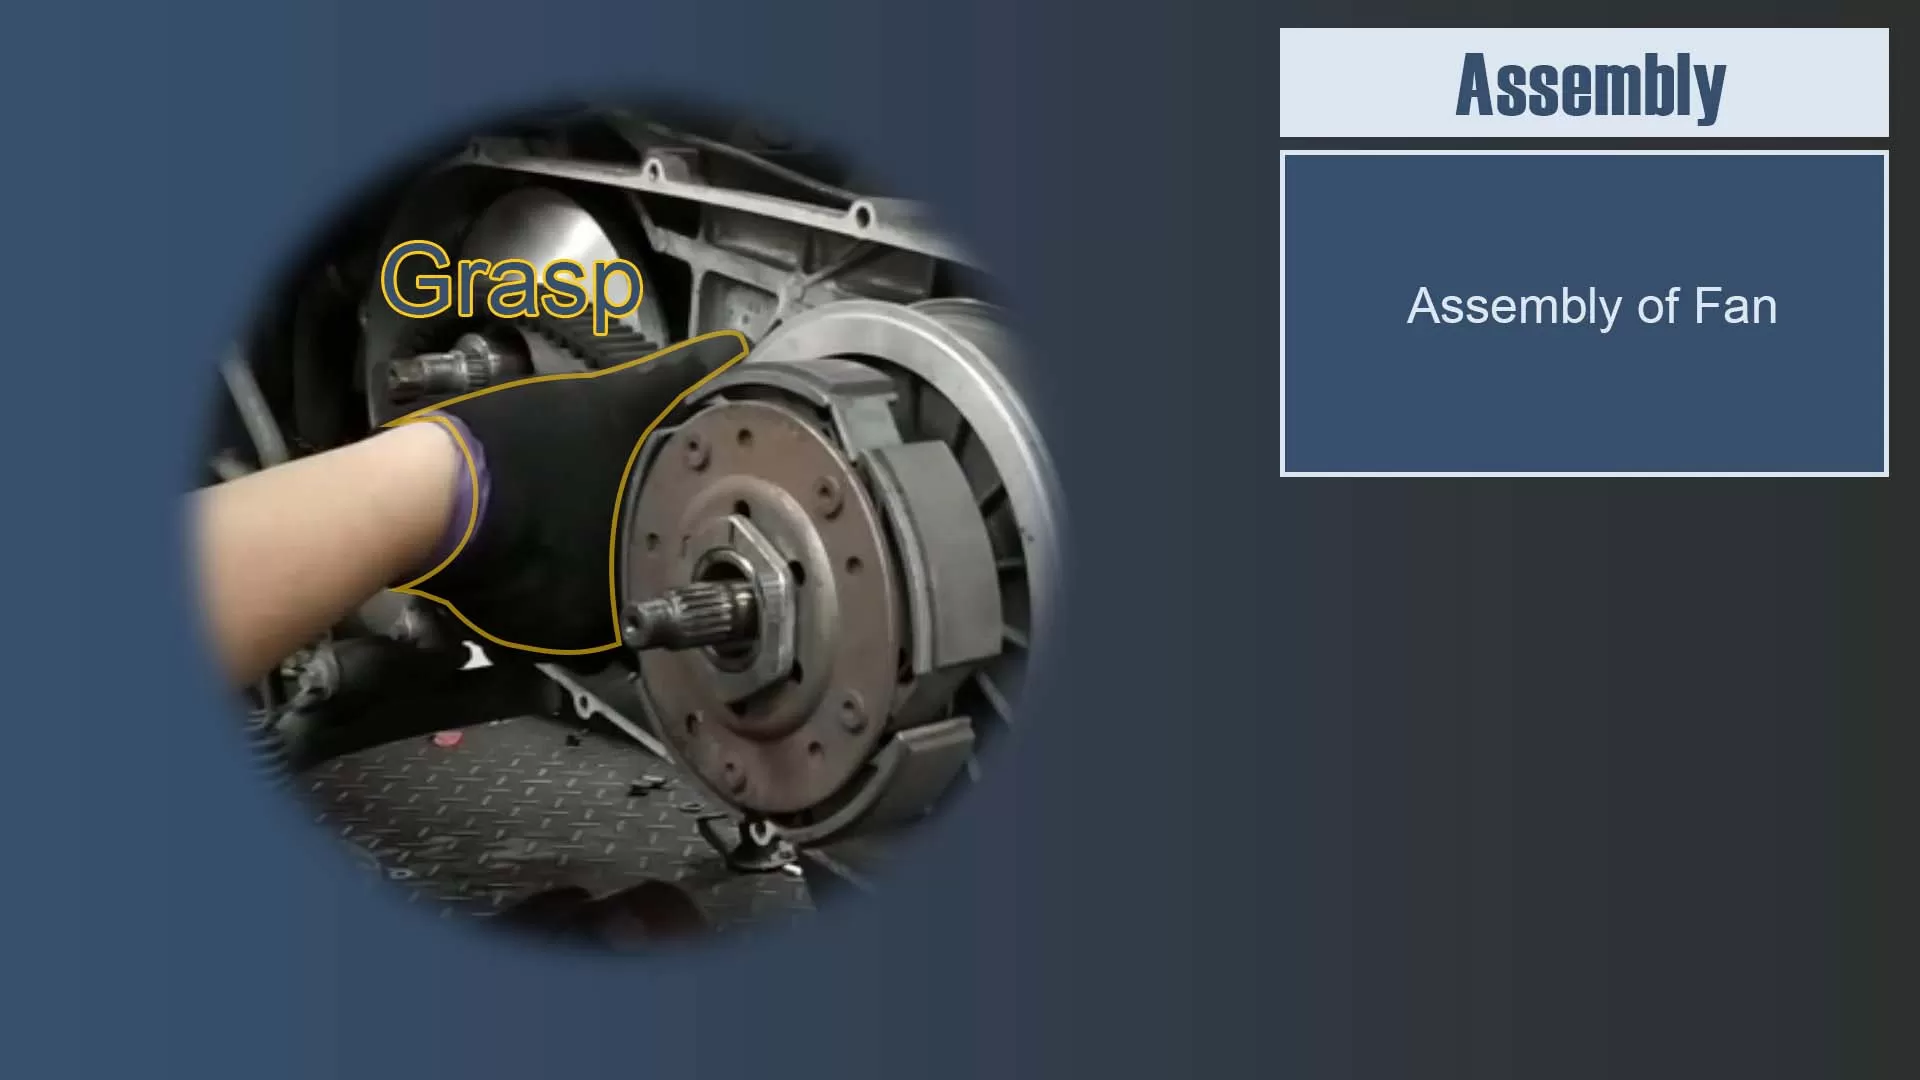
Assembly of Fan
In order to prevent the V-belt is moving randomly and being grasped by the fan and moveable Variator.
The V-belt lightly grapes around with one hand (here, right hand) and using the other hand (here, left hand) to put the fan on the engine crankshaft, pushing it to the end.
The manipulation is during the process of installation, the Fan is slightly shaking left and right with pushing forward at the same time.
Assembly of Washer and locking screw Nut – front driving pulley set
Put on the Washer with bare hands, install the lock Nut and tighten the screw with bare hands. For the time being, no need to lock it with a pneumatic tool.
Assembly of Clutch Bell
Attach the Clutch Bell onto the axis of the rear driven pulley set.
The manipulation is during the process of installation, the Clutch Bell is slightly shaking left and right with pushing forward at the same time.
Lock screw Nut
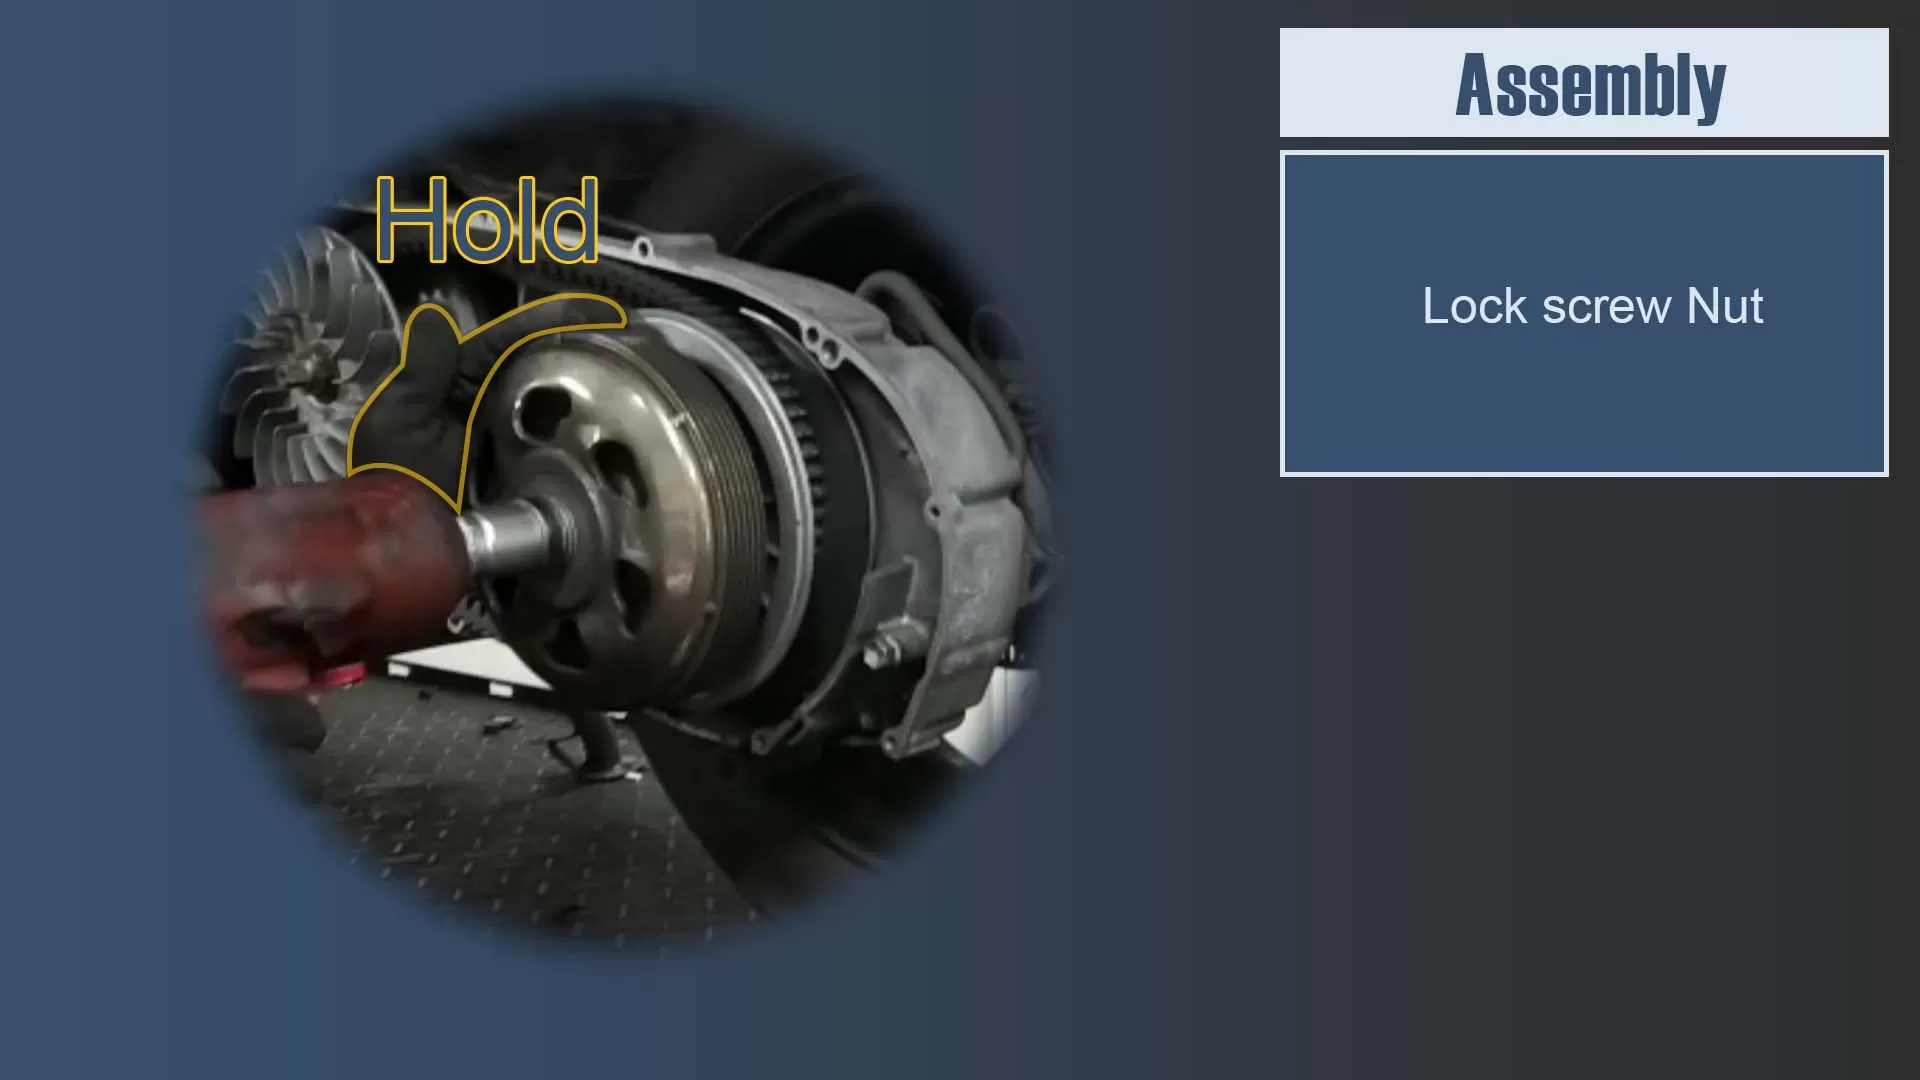
Use tools to tighten the nuts of front driving pulley and rear driven pulley.
During the process of locking the nut of the “rear driven pulley”, hold the tool in one hand (here, right hand), and gently hold the side of the clutch bell with the other hand (here, left hand) to prevent the Clutch Bell is rotated when the screw Nut is tighten.
Putting grease
Putting grease over the area around the Nut of the rear driven pulley. The purpose of the grease is providing a smooth rotation between Nut and the bearing inner and also prevent the rust produced between the nut and bearing inner portion.
The remaining grease can be used on the fitting hole to prevent the rust produced inside.
Test Run
Rotate the V-belt
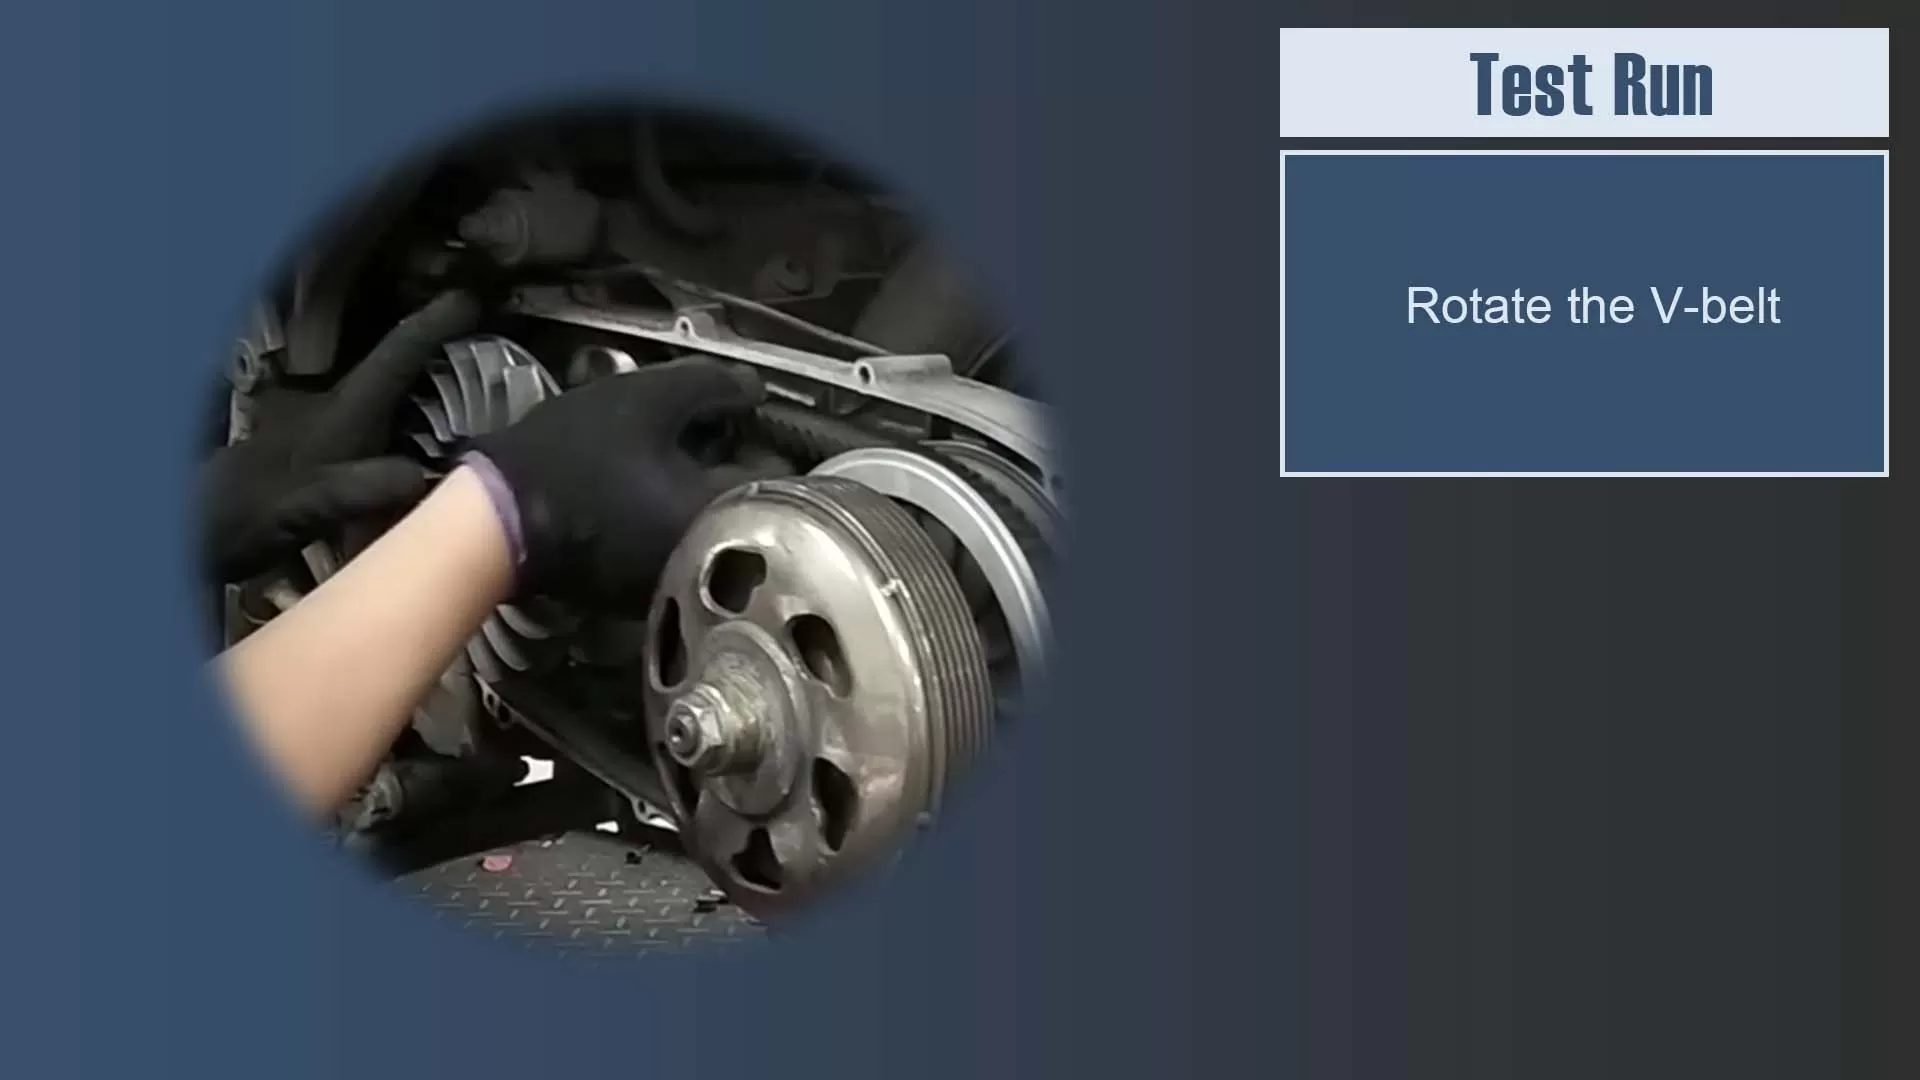
Rotate the exposed V-belt between the driving pulley and the driven pulley with bare hands to make sure the V-belt is at the initial position (idling state),
And then rotate the Fan with bare hands to confirm the V-belt can normally drive the driven pulley.
If this checking action is not done, the V-belt will become pulled abruptly when the engine is started, and this suddenly pulling will reduce the service life of the V-belt.
Start the vehicle
Let the CVT housing remains uncovered so that the internal operation CVT can be observed when the vehicle starts.
Then start the vehicle and observe whether there is any abnormal vibration or sound. If you notice any abnormality, please turn off the engine immediately and remove it for inspection.
If everything is okay, then turn off the engine and go for the next step.
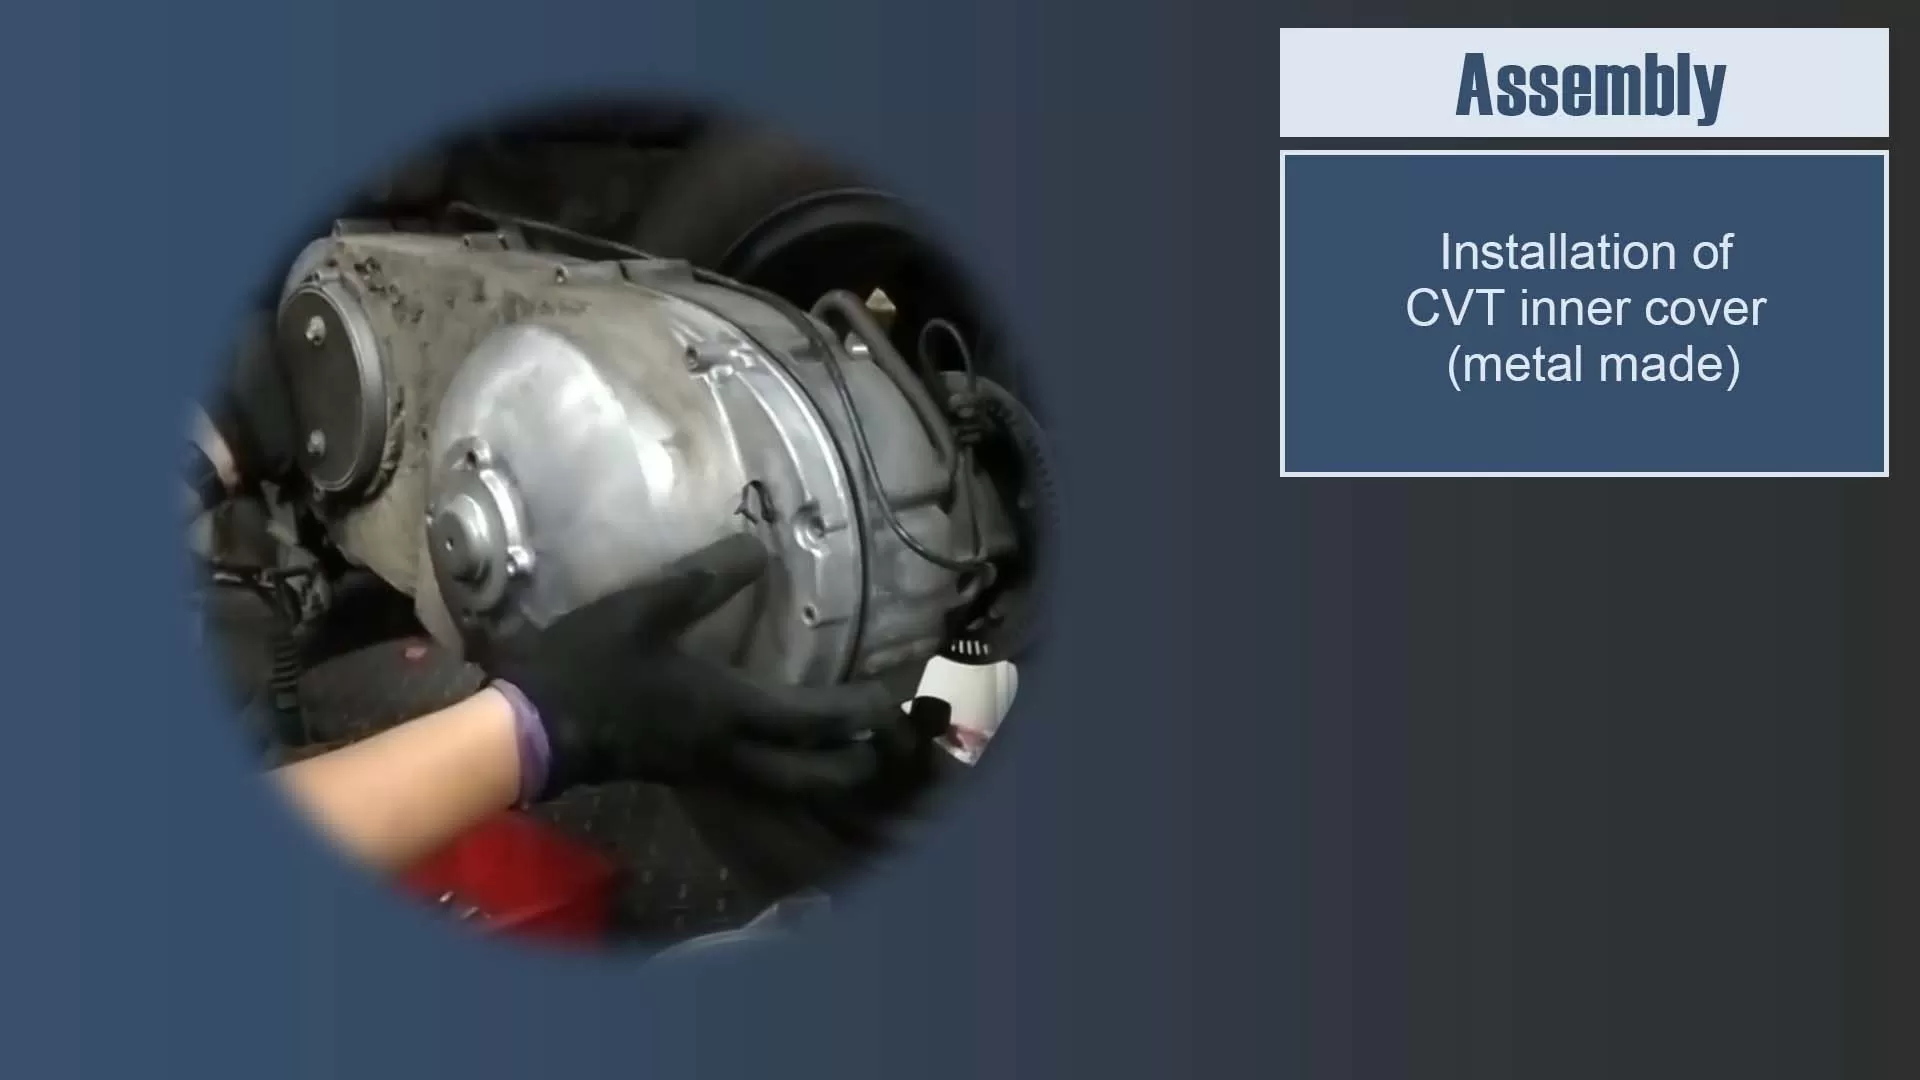
Assembly 2
Installation of CVT inner cover (metal made)
After alignment is done, push the inner cover with bare hands and tap it into positioning.
Dip the screw tip with a little grease, and slightly tighten them with bare hands. There are 10 screws in total.
Use a hydraulic tool to lock all the screws to the end, using a diagonal lock method. When the screws are locked to the end, release them immediately.
Repeat the action to lock all the screws again, and this time the locking will stay longer.
Fix lines
Arrange all the control lines according to the position of the buckles on the transmission cover, the purpose this fix is to prevent the lines from being oppressed during the assembly.
Installation of CVT outer cover (plastics made)
After alignment is done, push the outer cover with bare hands and tap it into positioning, and then Lock the screws directly, a total of 2 pcs.
Installation of Air Cooling Duct
After alignment is done, push the Air Cooling Duct with bare hands and tap it into Lock the screws directly, a total of 3 pcs.
Advantages of high performance Dr.Pulley Variator V301802 in Burgman400 (2018~)
- Compared with other brands, high way cruising mileage at least 15% more.
- Compared with the original Variator, the acceleration power is increased by 20% more.
Special Thanks to
- 元新車業, Suzuki Dealer
- 新北市泰山區楓江路7號, No. 7, Fengjiang Rd, Taishan District.
- Senior Technician – Mr.Orange(柳橙), Providing his own Burgman400 (2018~) for CVT demonstration.
YOUTUBE VIDEO

More Information
Our Youtube url : https://www.youtube.com/c/DrPulley
Online Shop : Over Range Variator Kit 301802